Mesh Warp
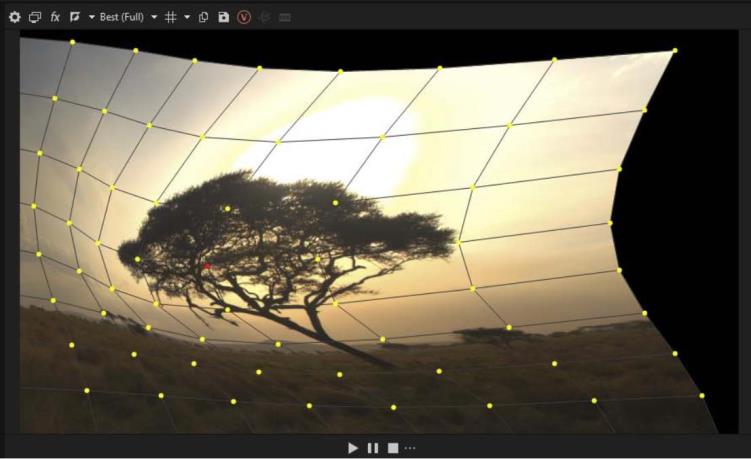
Creatively distort your footage, pictures or generated media with the Mesh Warp FX.
You can quickly distort an image to simulate a perspective view with an 1x1 Mesh Warp .

-
Add the Mesh Warp OFX to an event.
-
Adjust the Grid Size to the desired number of tiles.
-
In the overlay in the video preview window, adjust the grid points to distort the picture.
NOTE You cannot change the grid size once you moved any grid point.
- Double click on a mesh point to reset its position back to the original one. Use Reset Mesh to reset all points.
|
Parameters |
Description |
Range |
|---|---|---|
|
Grid size in X |
determines the number of horizontal tiles |
1-20 (default: 4) |
|
Grid size in Y |
determines the number of vertical tiles (editable if following checkbox is unchecked) |
1-20 (default: 4) |
|
Lock Grid size in X and Y |
links both grid sizes/ makes a symmetrical grid |
True/ False (default True) |
Mesh Warp Elasticity control
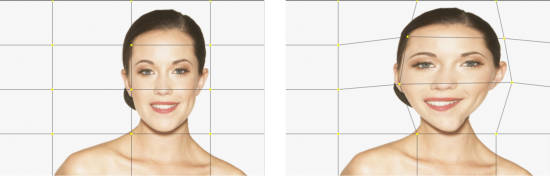
The Elasticity control in the Mesh Warp filter enables you to control how much influence a change in the position of one mesh point has on other mesh points. This can result in more “organic” image warping.
-
After you’ve set your grid size, adjust the Elasticity slider to the value that gives you the effect you want.
-
Set the value to 0.00 if you want the movement of any point to have no effect on other points. This matches the behavior of previous versions of the tool.
-
Set the value to 1.0. The adjustment you make affects all other mesh points. The closer a point is to the one you adjust, the greater the effect on that point.
-
Click the Refresh Mesh button to reset the mesh.
-
Select the Fixed Border Points checkbox.
-
Set the Elasticity slider to the value you want and make an adjustment to a mesh point. Notice that this time all of the border points remain unaffected so that no black shows at the edges of your live video area.
Experiment with settings in between 0.00 and 1.00 until you find the value that gives you the results you want.
NOTEWith larger values, you begin to pull mesh points—and thus your image—off of the edges of the live video area. You can avoid this:
-
-
In the Video Preview window, adjust one of your mesh points.
-
Click the Refresh Mesh button to reset your mesh.