Auto Normalize
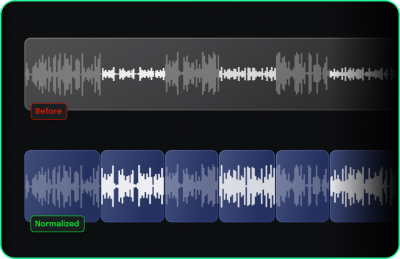
The Auto Normalize function in VEGAS Pro is designed to automatically recalculate the audio normalization for an event after edits are made. This feature ensures that any audio event is normalized based on the remaining audio after trimming, splitting, or other edits, without requiring manual renormalization. Whether you're cutting sections of an audio clip or removing high peaks, the audio that remains will automatically adjust to maintain consistent levels.
Use Auto Normalize to quickly adjust different audio tracks to the same level in a multi-track project.
Normalize audio recorded from different sources to ensure volume consistency.
Automatically prevent audio distortion caused by peaks in loudness.
Traditionally, when you split or trim an audio event with normalization applied, the normalization would remain unchanged, potentially leading to uneven volume levels. However, with Auto Normalize active, VEGAS Pro recalculates the normalization for all resulting segments, ensuring that each portion is adjusted based on its unique audio content. This means you can edit with confidence, knowing that the audio levels will automatically update, saving you the time of renormalizing manually after each change.
The Auto Normalize function operates alongside the traditional Normalize switch and can be easily activated in your project. For the best results, apply this feature to audio clips with a noticeable mix of loud and quiet sections. By trimming or splitting these clips, you’ll see how the software dynamically adjusts the audio levels to ensure consistent volume across the event.
How to Use Auto Normalize
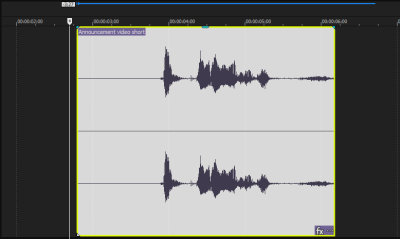
Add an audio file to your project. Choose a file with varying audio levels for the best demonstration of the feature.

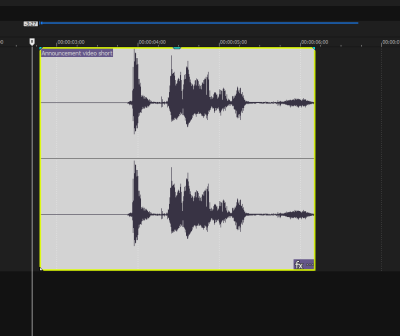
Right-click the event that holds the audio and select Switches | Auto Normalize from the context menu.
The audio in the event will be normalized, adjusting the volume levels automatically.

Perform edits, such as trimming or splitting the audio. The normalization recalculates based on the remaining audio content.
Splitting an Event into Multiple Events
Click on the audio event you want to split.
Move the cursor to the transition point between the loud and quiet sections of the audio.
Ensure the loud part is on the left side of the cursor and the quiet part is on the right.
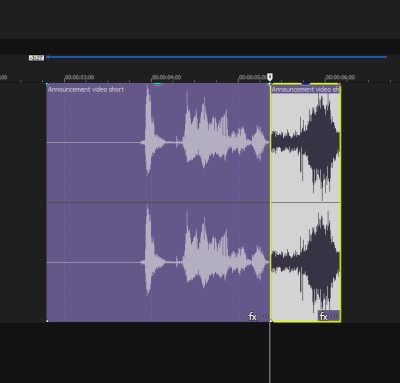
Press S on your keyboard to split the event at the cursor's position.
After splitting, Auto Normalize will automatically recalculate the normalization for both resulting events.
You may not see changes in the loud section, but the waveforms in the quiet section will adjust, growing larger as the volume is normalized.
By following these steps, you’ll see how Auto Normalize helps balance the volume between loud and quiet parts of an audio clip after splitting.

Additional Methods to Engage Auto Normalize
You can also enable Auto Normalize through the following methods:
- Using the Edit menu.
- Within the Event Properties dialog box.
- Via the Edit Details window.
Disengaging Auto Normalize
Right-click the event or access it through the menu where Auto Normalize is enabled.
Deselect the Auto Normalize checkbox or menu option to disable the feature.
Setting Default Normalization Levels
Go to Options | Preferences to open the Preferences dialog box.
Navigate to the Audio tab.
In the Normalize peak level (dB) field, enter the desired value for normalization.
Click OK to apply the settings. This affects both the Auto Normalize and the traditional Normalize functions.
