Using and Managing Docking Areas
Docking areas are fixed zones along the edges of the VEGAS Pro interface where you can attach windows and panels. They provide structure and reduce clutter, making it easier to access tools while editing.
Windows can be docked to the top, bottom, left, or right edges, or placed in floating docks. You can arrange and resize these areas to suit different screen sizes and workflows, including dual-monitor setups.
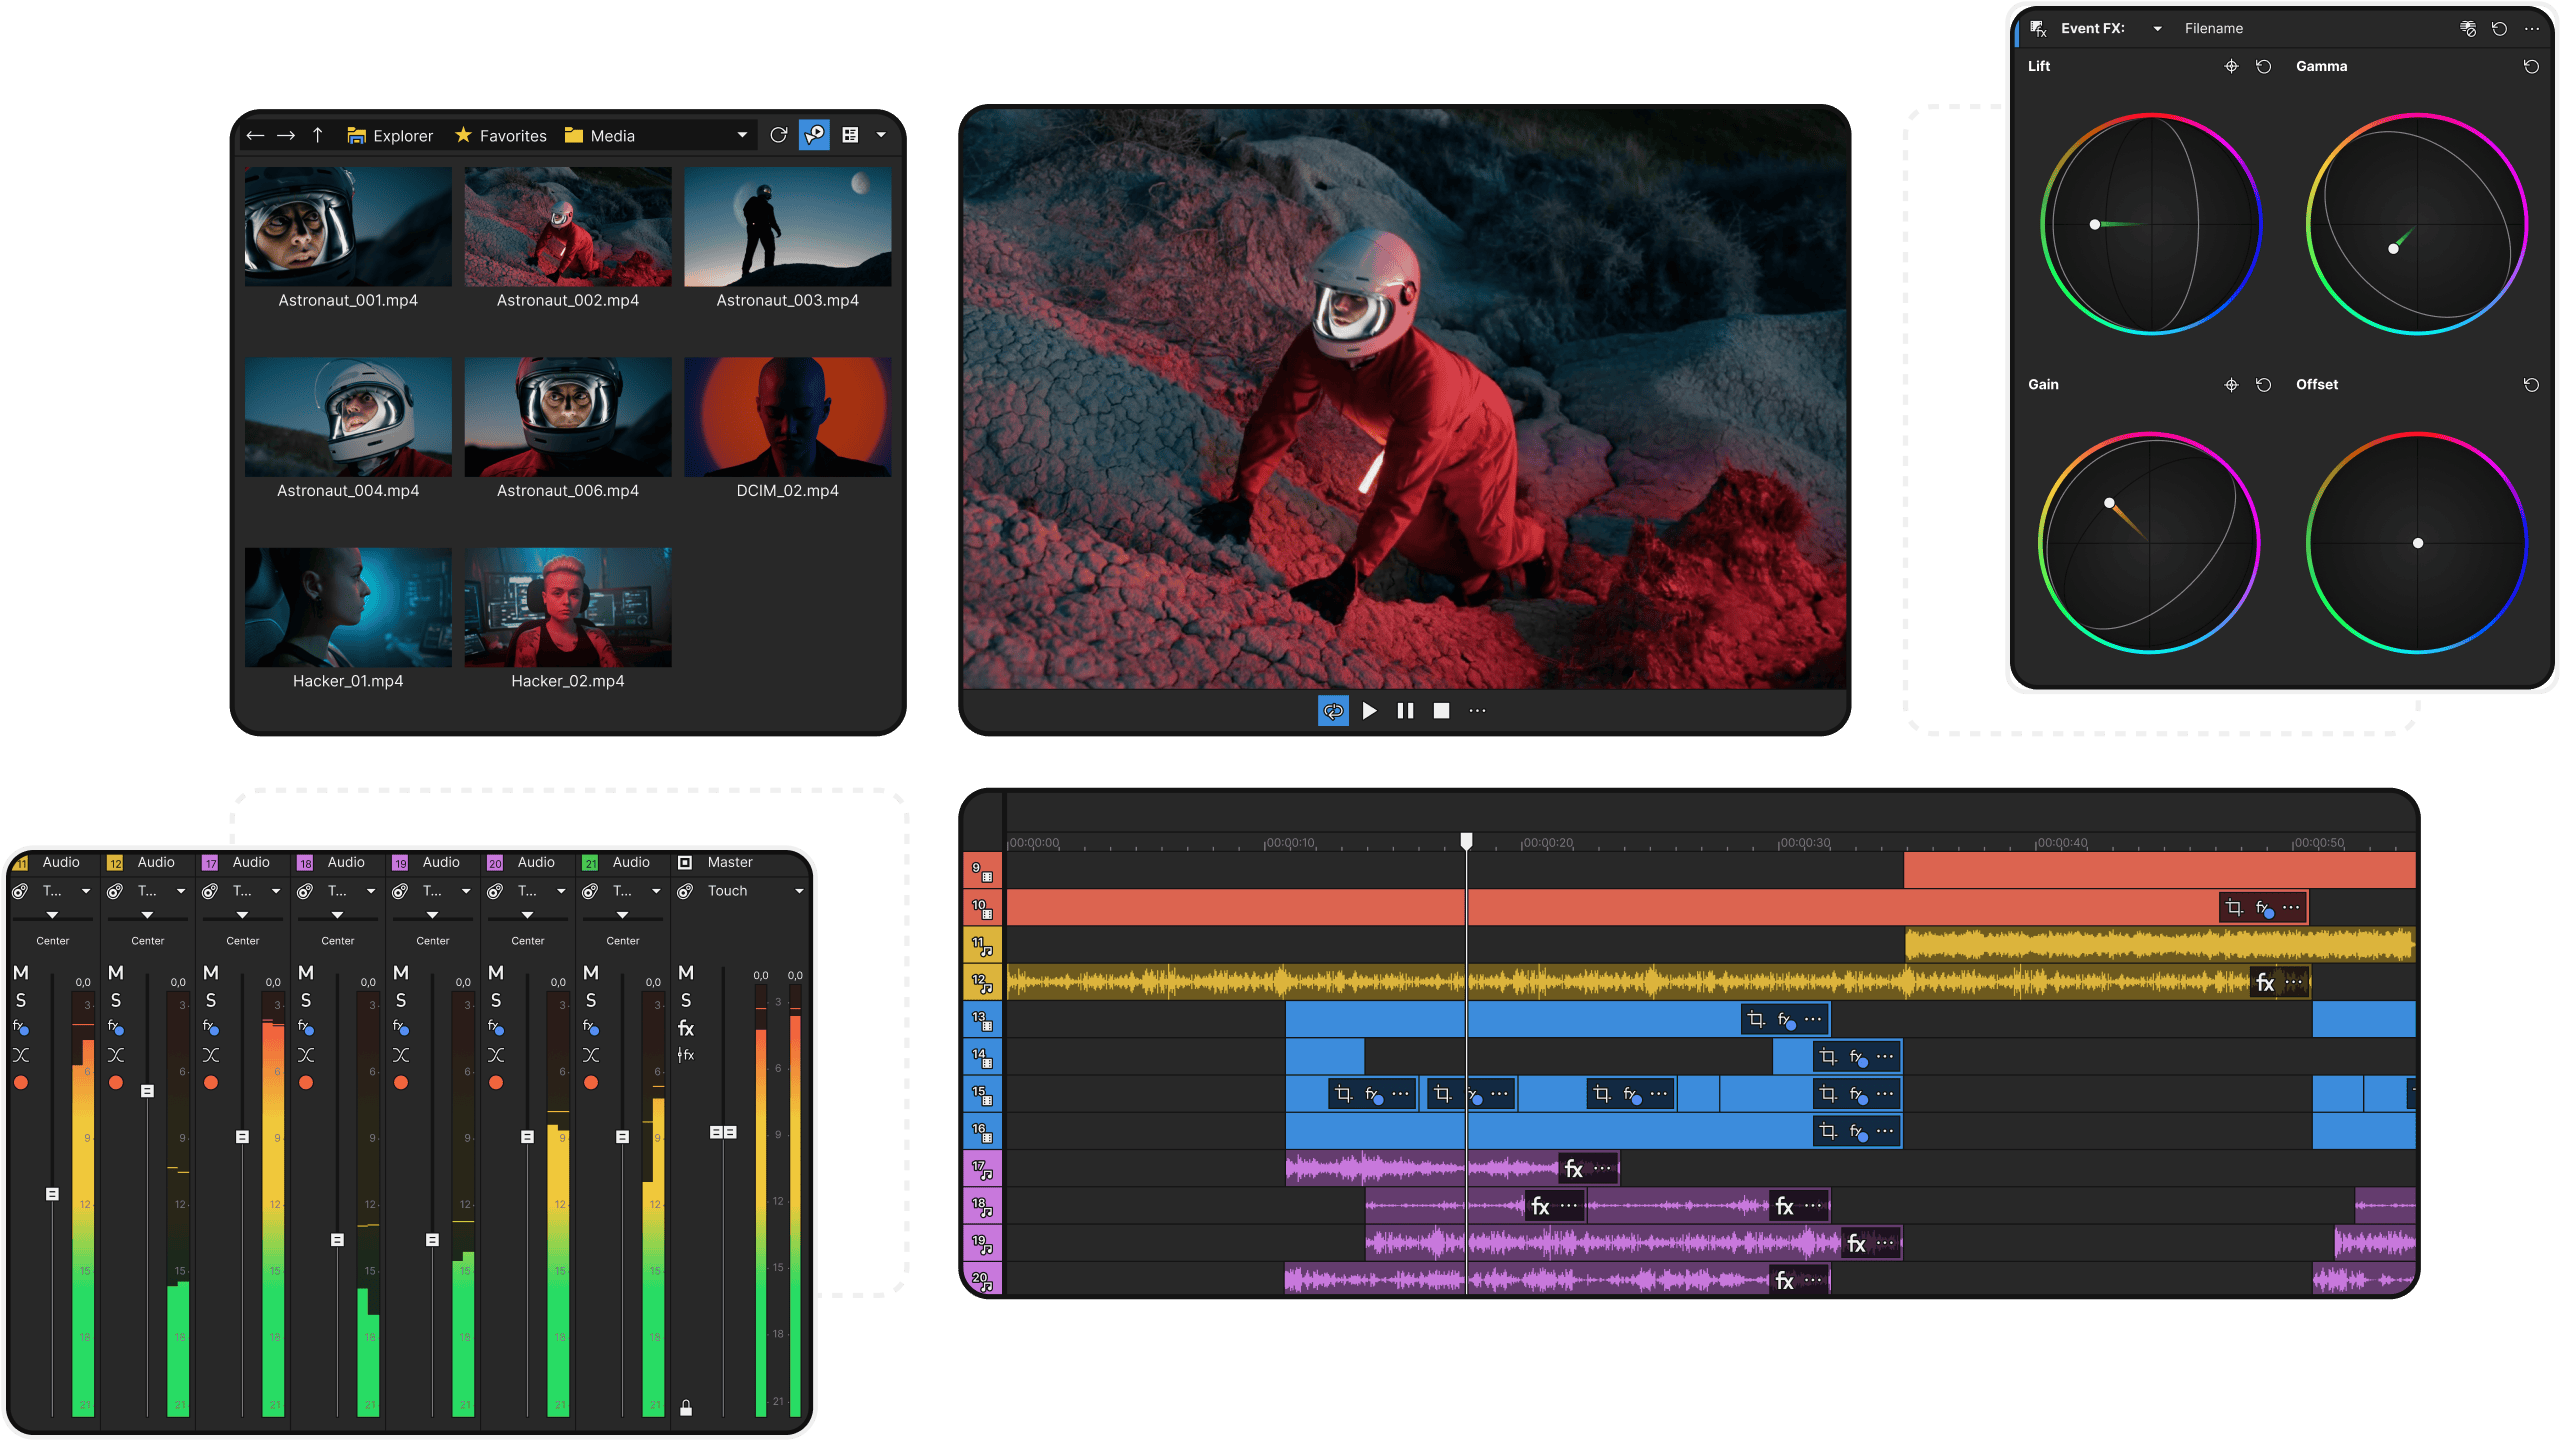
- Dock the Video Preview window to the right side for better visibility.
- Dock both the Color Grading and Video Scopes windows at the bottom for quick access.
- Use split right docks to show scopes on top and a mixer at the bottom.
- For portrait projects, dock the Preview window on the right to create a tall, narrow preview.
Dock and undock windows
- Click and drag a window by its title bar toward one of the four docking areas.
- Hold Ctrl to override the behavior configured in Allow floating windows to dock.
- A gray outline shows the target position. Release the mouse button to dock the window there.
- Move the cursor near the splitter to open the target area, then fine-place the window. Drag the splitter to adjust width or height.
- To undock, drag the window’s tab away from the docking area; it becomes a floating window.
Hidden and collapsible Docking areas remain hidden when empty and collapse automatically after the last window is removed.
Manage docked windows
- Maximize or restore: Click Maximize
 to expand the window, or Restore
  to return to the previous size.
 - Show or hide a window: Click Close
 to hide it. To show it again, open View > Window and select the window.
 - Quickly return to the default layout: Press Alt + D, D.
Floating docks and dual-monitor setups
You can create floating docks to organize your workspace independently from the main VEGAS Pro window. These docks can float over the interface or—if you use a dual-monitor setup—on a secondary display.
Preferences for docking behavior
- Allow floating windows to dock: Go to Options > Preferences > Display.
- Enabled: Windows dock automatically when dragged.
- Disabled: Windows only dock if you hold Ctrl while dragging.
- Tab position in docked windows: Go to Options > Preferences > Display.
- Enable Position tabs at top of docked windows to place tabs at the top.
- Disable the checkbox to place tabs at the bottom.
Keyboard shortcuts for docking areas
| Function | Shortcut |
|---|---|
| Show/hide all docking areas | F11 |
| Show/hide the top docking area | Alt + F11 |
| Show/hide the bottom docking area | Alt + Ctrl + F11 |
| Show/hide the right docking area | Ctrl + Shift + F11 |
| Collapse/expand all track headers | Ctrl + F11 |
| Maximize timeline (track headers + hide docks) | Ctrl + Alt + Shift + F11 |
Save and restore layouts
- Arrange and dock your windows as needed.
- Go to View > Window Layouts > Save Layout As.
- Enter a name and assign an optional shortcut.
- Click OK to save the layout.
Saved layouts also include the current state and size of docking areas.
Restoring custom dock size
When you add a window back into a previously used docking area, VEGAS Pro automatically restores the custom height or width you set before the area collapsed.
Last modified on December 08, 2025