Hue vs. Hue color curve
*new since VEGAS Pro 20*
This curve enables you to isolate a specific range of color (hues) in your video and change the hue of that range to a different hue. For example, if someone is wearing a blue shirt, you could isolate a range of blue hues and then adjust just that range of hues to a different hue value in order to change the color of the shirt without affecting any other colors in the video (although anything within that blue range will be affected, not just the shirt). This can be used for a drastic special effect such as this, or for more subtle color grading and correction that affects just a specific color range in your video.
Using the Hue vs. Hue curves:
-
Add a video file to your timeline.
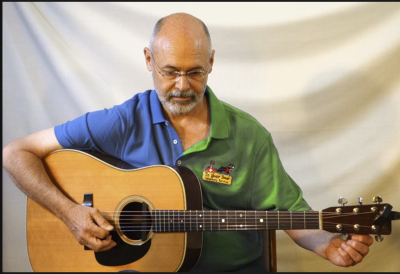
Try to find something that has a fairly large area of a distinct solid color—like a blue shirt—so that it’s easy to see as you experiment.
-
Select the video event and click the Color Grading button so open the Color Grading panel.
-
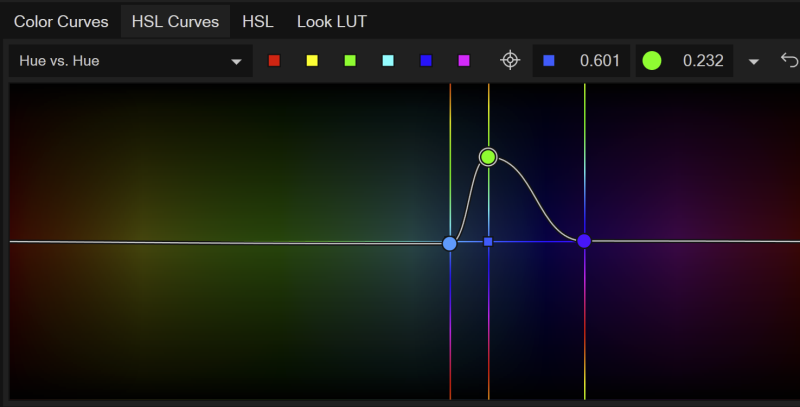
Click the HSL Curves tab and select Hui vs. Hui from the Curve Type drop-down list.
The curve background shows a color spectrum that starts with red at the left, moves through various hues, and ends with red on the right. Think of this spectrum as a flattened continuous loop. The white horizontal line in the vertical center of the spectrum depicts the curve.
-
Define a range of color hues that you want to adjust.
For instance, if you want to change the blues in your video to a different hue, define a range over the blue shades in the spectrum.
Defining a range:
-
Double-click the curve on the left side of the blue area. This adds a point to the curve.
-
Add another point at the right side of the spectrum. Think of these two points as anchor points that define your range.
-
Now double click again in between the two points you added. You can use this point as a control point to adjust the hue of the color range you’ve defined. You can add as many other points to the curve as you want.
Changing to a different color:
Drag the control point up or down vertically.
The vertical line that runs through the point identifies a second hue spectrum that you can use to target the color change you want.
If you don’t see the changes you expected as you move the control point, move it left and right as well as up and down. You might also want to experiment with the location of your anchor points to get the precise change you want.
Setting the curve to its default:
Click the Reset button to remove all points from the line.