Z-Depth
Creative Effects with VEGAS Z-Depth
*new since VEGAS Pro 21*
Z-Depth, also known as the Z-Buffer, is a fundamental concept in computer graphics and video editing. It represents the depth or distance of objects from the camera's viewpoint in a 3D scene. It allows you to create depth-based composites, add depth of field effects, and achieve realistic visual enhancements in your videos.
Application and Examples
-
Depth-based Compositing:
Z-Depth can be used to position objects in a 3D scene and create realistic composites. For example, texts or graphics can be placed behind certain objects while appearing in front of others within the same video.
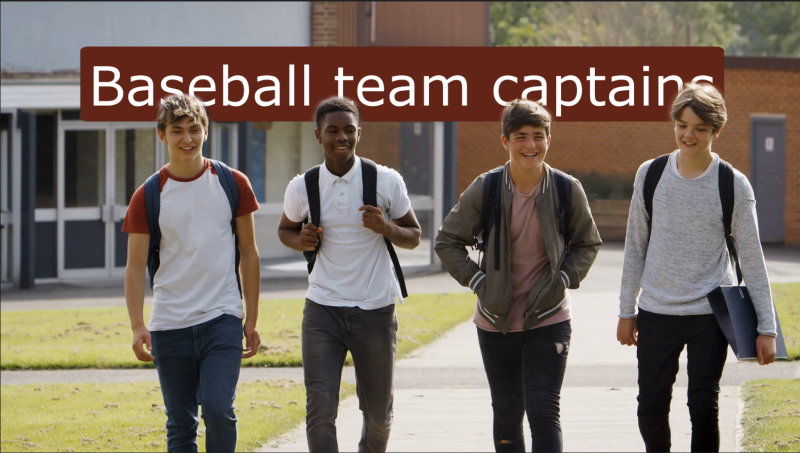
Example: In a cityscape video, text or graphics could be placed in front of background buildings while appearing behind a person or a moving car in the foreground.
-
Depth of Field Effects:
Z-Depth can be utilized to produce depth of field effects in a video, where the foreground is in focus while the background appears blurred.
Example: In an interview video, the background of the interviewee could be blurred to draw focus to the person and what they are saying.
-
3D Integration:
Z-Depth enables the integration of 3D objects or effects into a 2D scene to achieve realistic visual results.
Example: In a commercial video, a 3D logo could be integrated into a real-world scene, aligning it according to the Z-Depth settings.
-
Masking and Compositing:
Z-Depth can be used for masking specific areas of a video or placing objects in front of or behind other elements.
Example: In a green screen video, Z-Depth could be employed to replace the background with another video or a 3D scene, placing the foreground person in front of this new background.
Using Z-Depth as a Compositor
Place some text between two layers of objects in a video.
-
Add a text event to the first track of your project.
-
Place a video clip or still image directly below the text event.
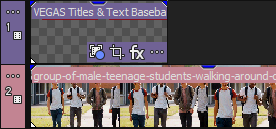
TIP To make this easier to demonstrate, try to find a clip that has an obvious foreground object and background objects. For instance, maybe a person standing in the foreground with buildings in the background.
-
Position the text to overlay the foreground object in the video.

-
Click the More
 button for track 1 and choose Compositing Mode | Custom from the pop-up menu.
-
In the Plug-In-Chooser window, select Z-Depth from the list of compositors.
-
Click the Add button, then OK.
-
Refine the Mask
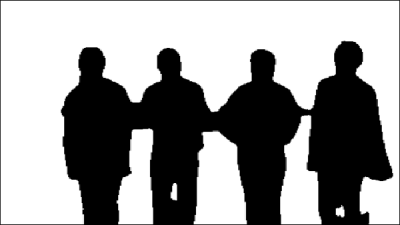
Z-Depth has analyzed your video frame and created a foreground layer and a background layer. Anything on the foreground layer appears to be in front of the text you added, while the background layer elements are behind the text as normal. This creates the illusion that the text sits between the layers. In actuality, the text has been masked out, or cut away around the foreground objects.
»Mode« drop-down list
Z-Depth uses the Absolute Values option as the default.
Choose Normalized Values from the list you may notice a slight change in the results you see in the Video Preview window. The Normalized Values mode makes it a bit easier to understand what’s going on with Z-Depth.
»Visualization« drop-down list
The Visualization options give you different ways to look at the depth map you are creating.
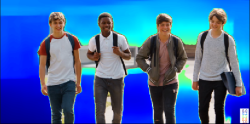
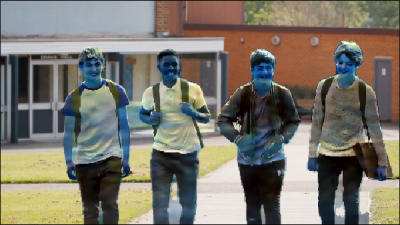
Thresholded Depth
In the Video Preview window, you will see the background layer in different colors, generally shades of blue (furthest objects) and red (closest objects), while the foreground layers appear as they actually appear in the video.
Manually Identifying Foreground Objects:
If the automatic results don't give you exactly what you want, you can identify foreground objects manually.
- Drag a selection box within the object you want on the foreground. Starting with a small selection within the object can be more effective.
- Some objects or areas may turn red, indicating that elements which normally would sit on the foreground layer are being excluded.
- If part or all of your object is red, make another small selection within the red area. Continue selecting the red area until you see your entire object properly, indicating that it is now on the foreground layer.
- By observing the shades between the blue and red colors, you can get an idea of how close objects are to the border between the background and foreground in the depth mask.
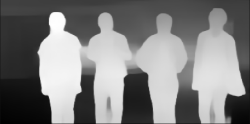
Depth
This shows the foreground objects as white and background as black with shades of gray for areas near the border.
Opacity
This option shows the background areas at 50% transparency. This is helpful when you want to be able to see objects in your background as you’re adjusting the various settings.

These various visualizations can help you get the results your after as you adjust the parameters.
Furthest:
Z-Depth identifies the object it has analyzed as the furthest away from the camera and assigned this object a value of 0.000
Nearest:
Z-Depth identifies the object it has analyzed as the nearest to the camera and assigned this object a value of 1.000
Depth In:
Specifies the furthest depth to consider when identifying foreground elements
Depth Out:
Specifies the nearest depth to consider when identifying foreground elements
»Invert« checkbox:
The Invert checkbox reverses the effect of the depth map.
For instance, if you have text that currently covers background elements but not foreground elements, select the Invert checkbox. Now your text covers foreground elements but not background elements. Deselect the checkbox again.
»Nearest object only« checkbox:
If you want to consider only the nearest objects in the depth mask in your results, select the Nearest Object Only checkbox.
-
Finalize the Composition
-
Choose None from the Visualization drop-down menu to remove the visual overlay.
-
Observe that portions of the text are now masked out, appearing behind the foreground objects.
-
Adjust the parameter controls further if needed, and consider using the Feathering control for smoother results.
-
Add Z-Depth as a video filter to create interesting effects
You can also add Z-Depth as a video filter to create interesting effects.
EXAMPLE For instance, you could use a blur filter along with Z-Depth to create a blurry background for a shallow depth-of-field effect. You could use it along with the Color Grading panel or other color adjustment tools to color grade just the background without affecting the foreground. Or use it along with the Style Transfer AI filter to create a surreal effect behind your focus object. You can add virtually any effect you want for correction or special effect purposes.
Let’s experiment with Style Transfer:
-
Add a clip to the timeline.
TIP Choose a clip that has something in the background with a prominent foreground object out front.
-
Open the Video FX tab and select Z-Depth from the list of plug-ins.
-
Drag the Normalized Values preset onto the timeline clip event.
The Video Preview window shows that the plug-in uses black to represent the foreground objects that it has identified, while background objects are white.
-
Adjust the parameter controls to get the white areas as tight around your foreground object or objects as possible.
-
You can also select an option from the Visualization drop-down for different views into what’s going on.
-
Once you’re happy with your results, set the Visualization to None.
-
Choose a Style Transfer preset from the Video FX window and drag it onto the clip event.
-
In the Video Event FX window, drag the Style Transfer effect in the effects chain and drop it between the Pan/Crop and Z-Depth effects.
-
Click the Z-Depth effect in the effects chain and select the Mask Effects button.
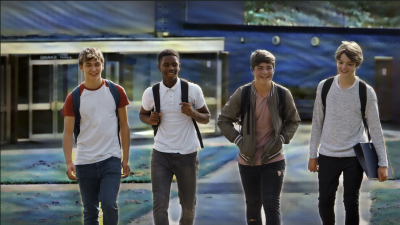
This creates a sort of composite image in which the foreground objects appear with the Style Transfer effect on them while the background images appear normal.
-
To switch it so the background elements have the Style Transfer effect, select the Invert checkbox.
-
Customize the Mask Effects for the Z-Depth effect to refine the composition.
Enhance Dimensionality with Z-Depth and Displacement Map
When working with z-depth mattes, consider using techniques like the "Displacement Map" to achieve dimensionality, allowing for walkthrough and layer isolation FX. By leveraging the "Displacement Map" plugin, you can create visually impressive distortions and effects that add depth and realism to your projects.
 For more information, see Displacement Map