Automatic project collections
*new since VEGAS Pro 20*
NOTE This function only works if you are logged in to VEGAS Hub.
A Project collection organizes all of your project’s assets into a single view that you can easily access through the Hub Explorer window. These collections provide fast and easy access to all of your projects and their associated files.
When you save your project, VEGAS Pro automatically creates a project collection, or updates your existing collection. You can simply use this feature to organize your ongoing projects, or you can create special projects that you use to organize your media files. For instance, you could create a new project called “Sports cars” and import all of your sports car footage into that project so you can easily access that media later.
Collections exist locally, so perpetual users as well as subscription users can take advantage of them. You can also create a local archive that includes copies of all of your project’s assets.
Organizing Projects with Automatic Project Collections
-
Start a new VEGAS project.
-
Add at least one audio or video file to your project.
You can add it directly to the timeline, or just import it into the Project Media window file list.
-
Save your project.
-
Click the Hub Explorer tab to bring that window to the front.
-
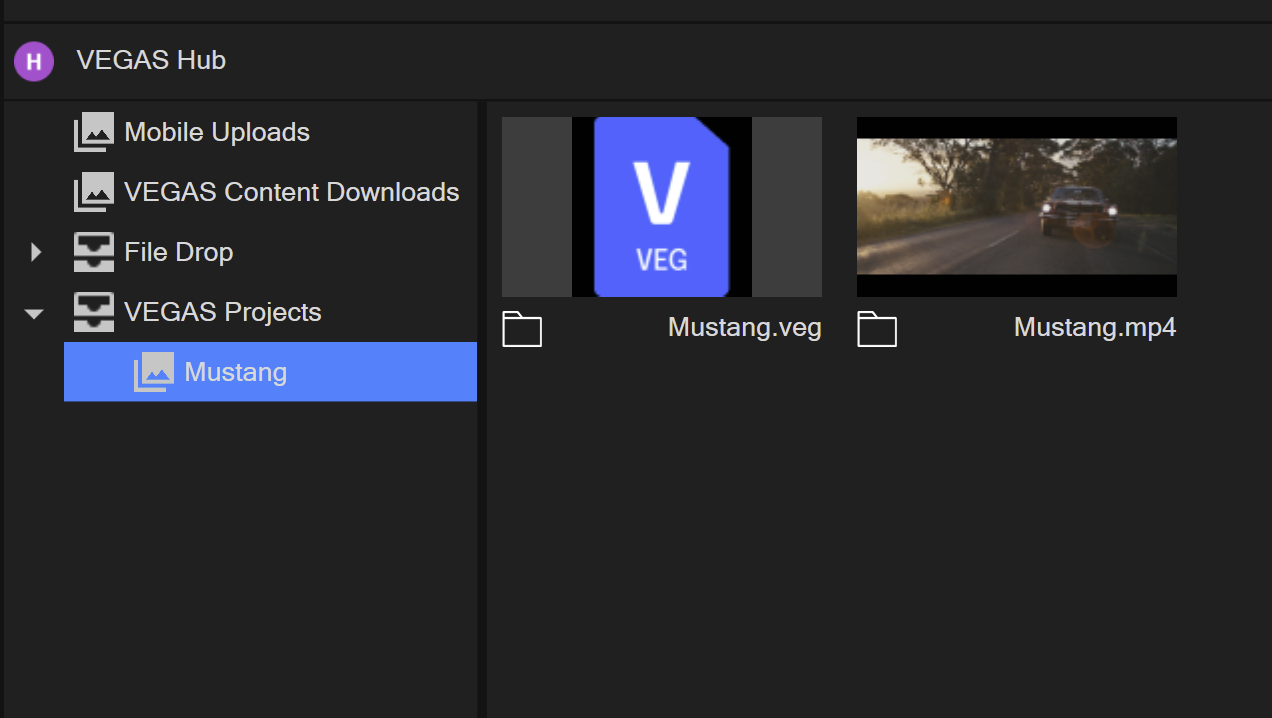
In the list of collections at the left, click the VEGAS Projects drop-down arrow.
The expanded list contains a new collection with the same name that you gave your project.
-
Click the collection. In the media pane on the right, you see your VEG file and all of the media files you’ve added to your project.
- You can access a project collection anytime to reuse media from one project in another.
- To add media from a collection to a new project, drag the desired files into the new project's timeline.
- To nest an entire project into a new project, drag the project's VEG file into the new project's timeline.
Archiving and Deleting:
-
To create an archive of your project, right-click the collection name and choose "Archive" from the context menu. Follow the Archive wizard to specify the parameters of your archive.
-
To delete a project collection, right-click it in the list and choose "Remove" from the context menu. This only removes the reference, not the actual files.
NOTE Keep in mind that you’re working just with an organizational tool here. When you automatically create a project collection, you’re simply creating references to the project and its media. It’s important to remember that you are not creating copies of any of these files. Likewise, when you delete a collection, you’re merely deleting the reference to the media and project file. You are not deleting any files from your system!
Disabling the Automatic Feature
-
If you don't want to create or update a collection for the project you're working on:
Click the "Create Project Collection" toggle button to turn it off.
Existing collections will still be visible and accessible, but no new ones will be created or updated.
-
To enable the feature again, click the "Create Project Collection" toggle button.