Inserting Subtitles
Add subtitles to your video by importing it from a TXT or CSV file or by creating regions and converting them into subtitles.
Inserting subtitles from a file
To import text to the timeline, for instance as subtitles for video clips, choose Insert Subtitles from Files from the Insert menu. This opens the Insert Subtitles dialog:
-
Click the Browse button to open a file, you can use the TXT or CSV file format:
-
If you use a simple .txt file containing only the desired subtitles, a title event is created from every line in the file. The events start from the beginning of the project and have a default length of 5 seconds each.
-
If you want to place the text precisely with the right time positions and length, then you can use the .txt or .csv format. The CSV format is a simple database format, where one record is one text line with values stored in text format, separated by commas (hence the name csv, comma separated values). If you use a .txt file, separate each chunk of information with tabs. In this case, each line in the file must be in the following format: "Timecode Start, Timecode End, Timecode Length, Subtitle Text". The Timecode has to be formatted as hh:mm:ss;ff (hh:hour, mm:minutes,ss:seconds, ff:frames) when your project timeline format is set to the default SMPTE Drop (29.97 fps Video) setting.
-
-
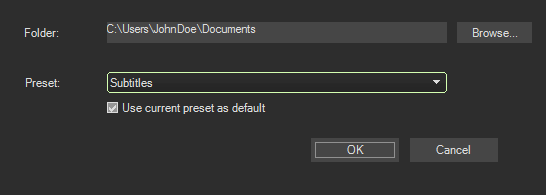
Choose the text preset that you want to use for the title events from the Preset drop-down list . When you select the Use current preset as default option, the chosen preset becomes the default that will be used when you use this function in the future.
-
When you click OK, the dialog is closed and a new track is created as the top track in your project, and contains the title events with the text from the file.
Inserting subtitles from regions
You can also create subtitle from named regions in the project:
-
Select the time span where a subtitle should be created and press the R key.
-
A new region is created and a text entry field is shown for the region to name it. Enter your subtitle content here.
-
Repeat step 1 and 2 for all subtitles you want to create.
-
Choose Insert Subtitles from Regions from the Insert menu. This opens the Insert Subtitles from regions dialog:
-
Choose the text preset that you want to use for the title events from the Preset drop-down list . When you select the Use current preset as default option, the chosen preset becomes the default that will be used when you use this function in the future.
-
When you click OK, the dialog is closed and a new track is created on topmost in the track list containing the title events with the text from the Region names.