Mocha Vegas
This version of the Mocha motion tracking tool has been developed by Boris FX specifically for use in VEGAS Pro. You can invoke the software from inside VEGAS Pro and perform all the sophisticated motion tracking that this industry-standard tool offers. Once you’ve created the tracking data inside Mocha, you can easily transfer that data to the VEGAS Pro Motion Tracking tool and apply it to your project in all the normal ways. You can also apply the tracking data to the Stabilization tool in VEGAS Pro for great video stabilization results.
Adding Mocha VEGAS to your project
Mocha VEGAS is an OFX plug-in, so use all the normal techniques to add it to your project.
-
Place your cursor at the beginning of the event on your timeline, for instance, to add it to an event on your timeline that needs tracking.
-
Click the Video FX tab.
-
Select Mocha VEGAS from the list of plug-ins.
-
Drag the Default preset onto the event.
-
In the Video Event dialog box, click the Launch Mocha UI button.
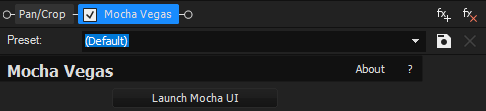
This starts the Boris Mocha application and it opens with your clip already loaded into it. Now you can use all the deep tools of Mocha to create your tracking.
Performing Motion Tracking
-
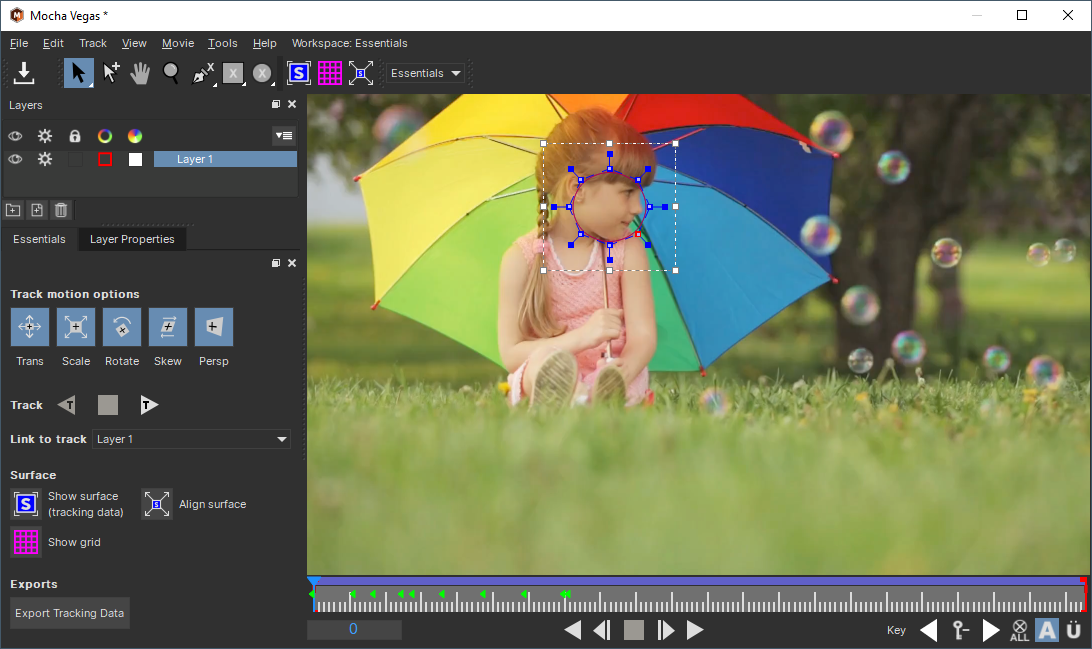
Create a quick mask over the object you want to track. Tip: To keep things simple for this training, use the Spline, Rectangular, or Elliptical tool.
-
Click the Track Forward button to start the tracking process.
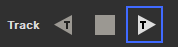
When tracking is complete, notice that you have a layer in your Layers list.
-
Rename that layer if you want to.
-
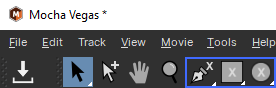
Choose File | Save Project to save your work.
-
Choose File | Exit to close Mocha.
Applying Tracking Data in VEGAS Pro
-
Bringing Tracking Data into VEGAS Pro
-
In the Video FX window, click the Expand arrow for the Tracking Data section.
-
Click the Create Track Data... button.

-
Select the layer you created back in Mocha from the Layer Controls dialog box and click OK.
You can now see the calculated tracking data in the plug-in.
-
-
Creating a Matching Mask in VEGAS Pro
-
Click the Create Masks... button to add a Bézier Masking plug-in to your FX chain to create a mask in VEGAS Pro to match the tracking mask you made in Mocha. You can see in the Video Preview window that the mask has been applied.
-
-
Adding effects
Say you want to obscure the object you track, like a face, for instance.
-
From the Video FX window, select Pixelate from the list of effects.
-
Add one of the presets to your effects chain in front of the Bézier Masking plug-in.
-
Adjust your pixelization settings until you’re happy with the results.
-
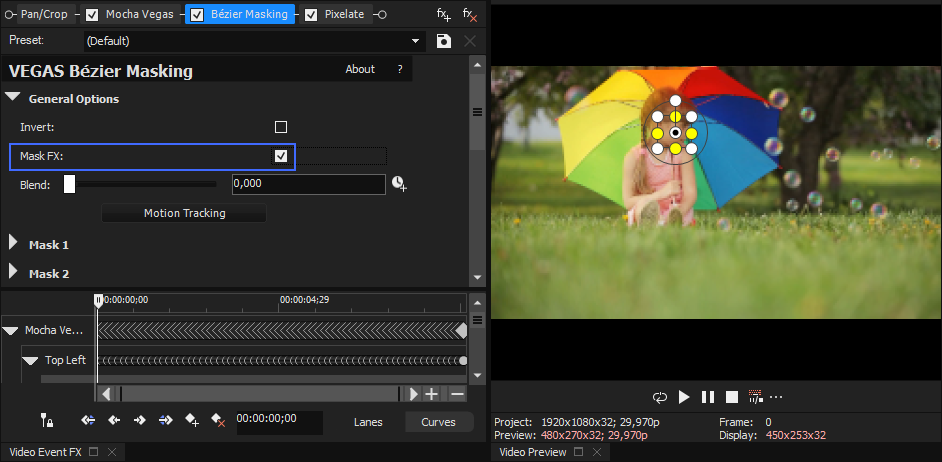
In the Bézier Masking plug-in, expand the General Options section and select the Mask Effects checkbox.
You now have a pixelated, tracked ojbect. Play your VEGAS Project to see the results.
-
Exporting Tracking Data
You can also send the Mocha tracking data to the VEGAS Pro Motion Tracking tool.
-
In the Mocha VEGAS plug-in, click the Apply Export button.
This applies the tracking data to the VEGAS Pro Motion Tracking tool and opens the Motion Tracking dialog.
If you followed the instructions above, you already have a Bézier mask listed in the Mask list.
-
Click the drop-down arrow and choose Mocha 1 from the list.
-
Click the Motion Track Transfer Menu drop-down to specify how you want to apply your motion tracking.