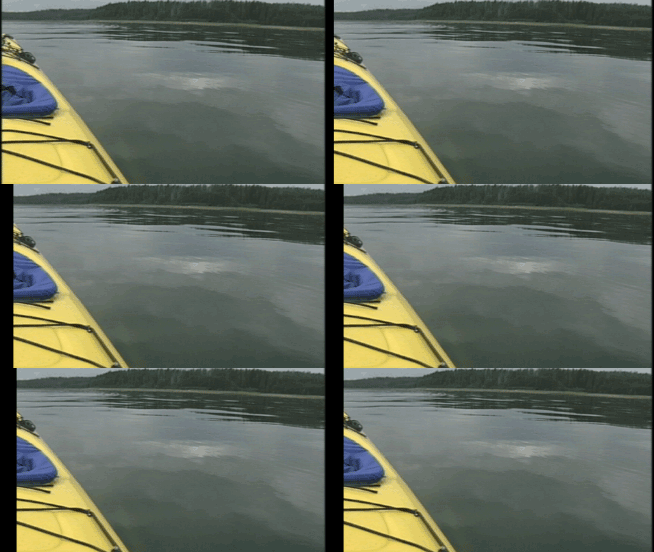
Aligning left- and right-eye views and adjusting depth
It is very important that stereoscopic 3D video have differences between the views only in horizontal displacement. Any vertical or rotational misalignment will detract from the viewing experience and may even cause viewer discomfort. Also, it is important to limit the amount and direction of horizontal offset to create comfortable depth.
For example, when shooting with parallel-axis cameras, all of the action is usually in front of the screen, and you need to use horizontal image translation to push most of it behind the screen.
Use the 3D glasses in combination with viewing the output without the glasses to create good alignment and depth settings. You usually want all of the action behind the screen plane, only crossing the screen plane for dramatic or special effect. However, make sure never to create divergence, where the left-eye picture would appear more than 2.5 inches to the left of the right-eye picture on the largest screen where your movie will be shown.
For example, if the largest screen to be used is 16:9 with a 106-inch diagonal, the width is 87% of the diagonal, or about 92 inches. With 1920x1080 content, 2.5 inches is only 52 pixels, so make sure your distant objects are never more than 52 pixels apart.
Stereoscopic 3D Adjust
You can use the Stereoscopic 3D Adjust plug-in to adjust horizontal offset, vertical offset, keystoning, and rotation. This plug-in can be applied at the media level, event level, track level, or video output. 
You can use the plug-in's controls as follows:
-
3D depth adjustment is a complex process and is out of the scope of this document. For more information, please review a reference such as 3D Movie Making: Stereoscopic Digital Cinema from Script to Screen by Bernard Mendiburu.
-
When you're working with a stereoscopic 3D project, a separate checkbox is displayed in the Video FX window for the left- and right-eye video:
 . By limiting an effect to the left or right eye only, you can use multiple instances of a plug-in with different settings for each eye.
