Color Grading
Color grading is the process of adjusting the colors, contrast, and overall tone of your video to achieve a consistent look, correct color imbalances, or create a specific mood. It is an essential step for matching shots, guiding the viewer’s attention, and giving your project a polished, professional finish.
FIGURE
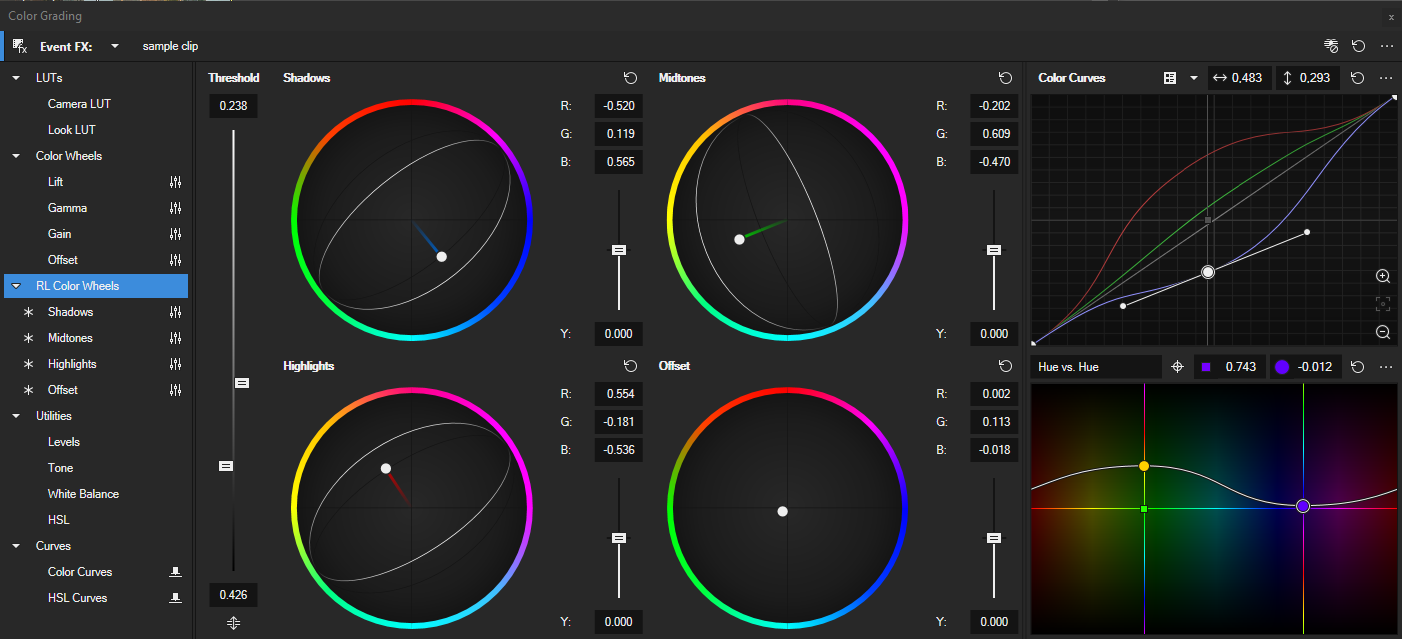
 Color Grading window
The Color Grading window provides all the tools you need for precise color work, including color wheels, LUT support, and curve adjustments. It works with any type of video, including HDR, and can be applied at different FX levels to suit your workflow.
-
Match the color tone of clips shot on different cameras so that the entire sequence looks consistent.
-
Create a warm, cinematic look for a sunset scene to enhance its mood and emotional impact.
-
Correct an underexposed interview shot by brightening the midtones and restoring natural skin tones.
Open the Color Grading Window
You can open the Color Grading window in several ways:
-
Menu: View | window |
Color Grading -
The Transport and Editing Toolbar: Color Grading
button -
Shortcut: Alt+G
NOTE In the default layout, the Color Grading window is already shown in the Window Docking Area.
TIP The window is dockable, so you can place it anywhere in your layout or undock it to float on its own monitor. The layout is responsive, adapting to the available space.
Navigate the Color Grading Window
The Color Grading window uses the familiar docking system found throughout VEGAS Pro. You can dock it in any position within your workspace or undock it to float on a separate monitor. Its layout is responsive, adapting automatically to the available space.
Sections Overview
Use the navigation list on the left to switch sections. Click the Expand arrow to reveal sub controls such as individual wheels or curve types.
| Section | Description |
|---|---|
| LUTs |
Apply Camera LUTs for input color space conversion and Look LUTs for creative styles. |
| Color Wheels |
Adjust the overall color balance using offset, gamma, and gain controls. |
| RL Color Wheels |
Range-limited wheels that target shadows, midtones, highlights, and Offset within thresholds. |
| Utilities |
Adjust Levels, Tone, White Balance, and HSL. |
| Curves |
Fine tune with RGB or luminance and HSL curves. Pin curves to keep them visible while using other tools. |
Resizing and Repositioning
Like any dockable window in VEGAS Pro, you can:
- Drag the edges to resize it within the docking area.
- Undock it by dragging the tab away from its dock and positioning it anywhere on your screen.
- Re-dock it by dragging it back into the docking area until a highlight indicates the drop location.
For a dedicated grading monitor, undock the Color Grading window and move it to a second screen for more working space.
Working at a Specific FX Level
Each FX level has its own control to open the Color Grading window and set it to work at that level. Any changes you make will be applied to the selected event.
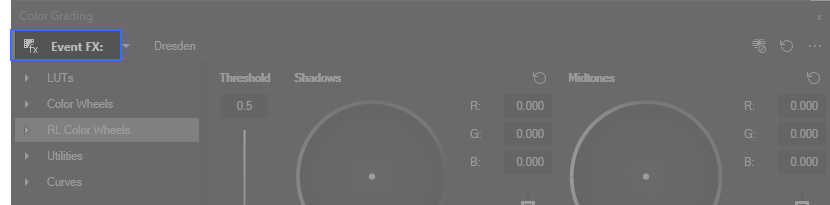
A label at the top left of the window shows the current FX level and the active take name for the selected event.
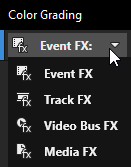
| FX level | How to select it |
|---|---|
|
Event level Default option. Applies grading to selected events. |
Click an event’s More |
|
Track level Applies grading to the selected track. |
Click the track’s More |
|
Media level Applies grading to the selected clip in the Project Media window. |
Open Project Media. Right click the media thumbnail and choose Color Grading. |
|
Video Output Bus level Applies grading to all project video output. |
Right click the Video Preview window and choose Video Output Color Grading. |
|
From within the Color Grading window |
Click the Add to FX Level drop down in the button bar and choose the desired level. |
Panel toolbar (global controls)
These controls are available at the top of the Color Grading window in every section.
| Button | Purpose | Typical use |
|---|---|---|
 Bypass Color Grading Bypass Color Grading |
Temporarily disables all processing from the Color Grading panel at the current FX level. The video passes through unchanged while other effects in the chain remain active. | Quick A/B check to judge your grade or to verify a neutral baseline. |
 Reset All Reset All |
Restores all Color Grading controls to their defaults at the current FX level. It clears adjustments across all sections such as Wheels, Curves, Utilities, and LUTs. | Start over from a clean state after experimenting or before applying a preset workflow. |
 More menu More menu |
Bézier Mask: add a Bézier Mask effect to combine area-limited adjustments with your grade. Broadcast Colors: add a filter to keep luma and chroma within broadcast-safe ranges. Export LUT: export your current grade as a LUT file for reuse. |
Insert companion effects from one place and export your grade for other shots or projects. |
NOTE When you export a LUT, only the grading at the currently selected FX level is included in the LUT.
Last modified on December 08, 2025